
We spent many hours on research to finding chulux ice cream maker, reading product features, product specifications for this guide. For those of you who wish to the best chulux ice cream maker, you should not miss this article. chulux ice cream maker coming in a variety of types but also different price range. The following is the top 10 chulux ice cream maker by our suggestions
784 reviews analysed

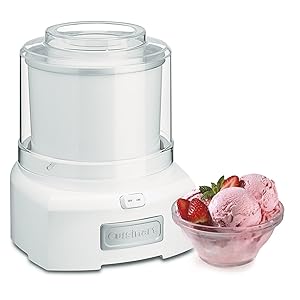


1. AmazonBasics 1.5 Quart Automatic Homemade Ice Cream Maker

Feature
- 1.5 quart-capacity ice cream maker for creating your own custom frozen desserts
- Make ice cream, frozen yogurt, gelato, custard, sorbet, and sherbet
- Fully-automatic operation that produces frozen desserts in less than 30 minutes
- no stirring needed
- Mess-free design with easy-lock lid and large spout allows you to effortlessly add ingredients
- Double-insulated freezer bowl
- no need to add ice. Requires 24 hours in freezer prior to use
- Freezer bowl must be hand washed
Description
An Amazon Brand
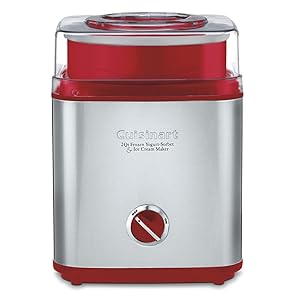
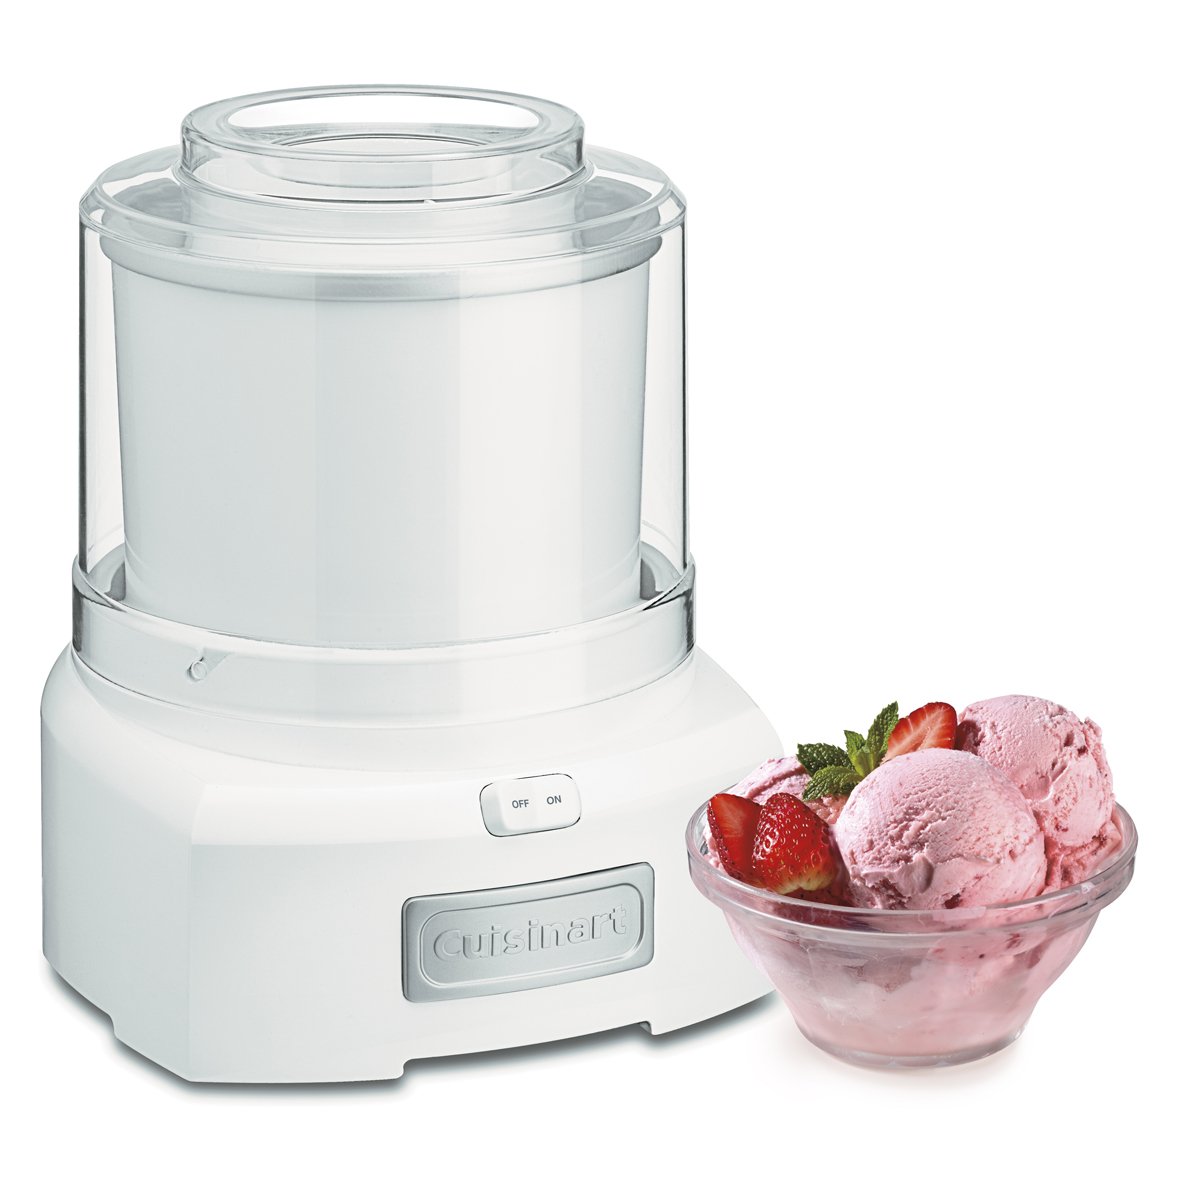
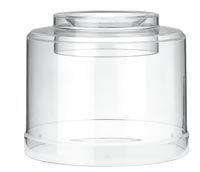
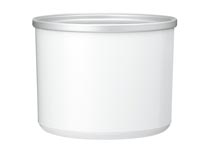
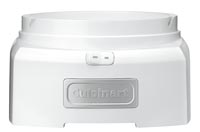
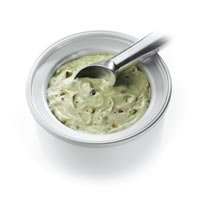
2. Cuisinart ICE-21 1.5 Quart Frozen Yogurt-Ice Cream Maker (White)
Feature
- New mixing paddle makes frozen desserts in 20 minutes or less
- Large capacity makes up to 1-1/2-quarts
- Double insulated freezer bowl eliminates the need for ice
- Easy lock transparent lid with large spout makes adding ingredients simple and mess free
- Product Built to North American Electrical Standards.Do not use oudoors
Description
From the Manufacturer

Frozen Favorites in Minutes
The heavy-duty motor makes frozen yogurt, ice cream, sorbet – even frozen drinks – in 20 minutes or less.
Pure and Simple Indulgence
Add fresh ingredients to the mixing bowl, turn on the machine, and go. It’s fully automatic. Plus, cleanup is a breeze.
Perfectly Delicious
The large capacity mixing bowl lets you make up to 1-1/2 quarts of your favorite smooth and creamy frozen treats.
Features and Benefits
- Ingredient Spout Pour recipe ingredients through the spout. Also use to add ingredients, like chips or nuts, without interrupting the freezing cycle.
- Easy-lock Lid Transparent to let you watch the freezing process as it progresses. Lid is designed to easily lock to base.
- Mixing Paddle Mixes and aerates ingredients in freezer bowl to create frozen desserts or drinks.
- Freezer Bowl Contains cooling liquid within a double insulated wall to create fast and even freezing. Double wall keeps the bowl cool and at an even temperature.
- Base Contains heavy duty motor strong enough to handle ice cream, frozen yogurt, sherbet, sorbet and frozen drinks.
- Rubber Feet Nonslip feet keep base stationary during use.
- Cord Storage Unused cord is easily pushed into the base to keep counter neat and safe.
Freezing Time and Bowl Preparation
The freezer bowl must be completely frozen before you begin your recipe. Before freezing, wash and dry the bowl. The length of time needed to reach the frozen state depends on how cold your freezer is. It is recommended that you place the freezer bowl in the back of your freezer where it is the coldest. Be sure to place the freezer bowl on a flat surface in its upright position for even freezing.
Generally, freezing time is between 16 hours and 24 hours. Shake the bowl to determine whether it is completely frozen. If you do not hear the liquid within the bowl moving, the cooling liquid is therefore frozen. For the most convenient frozen desserts and drinks, leave your freezer bowl in the freezer at all times. Use the bowl immediately after removing from the freezer. It will begin to quickly defrost once it has been removed for the freezer.
Reminder: Your freezer should be set to 0°F to ensure proper freezing of all foods.
Making Frozen Desserts or Drinks
- Use Cuisinart recipes included in the Instruction Booklet or use your own recipe, making sure it yields 1-1/2 quarts or less.
- Remove the freezer bowl from the freezer and place on the center of the base. The bowl will begin to defrost quickly once it has been removed from the freezer. Use it immediately after removing from freezer.
- Place mixing paddle in freezer bowl. It rests in the center of the bowl, with the circle side facing up.
- Place lid on the base and rotate clockwise until tabs on lid lock in place on base.
- Press On/Off switch to ON position. Freezer bowl will begin to turn.
- Immediately pour ingredients through ingredient spout. NOTE: Ingredients must be added to the freezer bowl after the unit is turned on.
- Frozen desserts or drinks will be done in less than 20 minutes. The time will depend on the recipe and volume of the dessert you are making. When the mixture has thickened to your liking, it is done. If you desire a firmer consistency, transfer the dessert to an airtight container and store in the freezer for two or more hours.
Adding Ingredients
Ingredients such as chips and nuts should be added about 5 minutes before the recipe is complete. Once the dessert has began to thicken, add the ingredients through the ingredient spout. Nuts and other ingredients should be no larger than a chocolate chip.
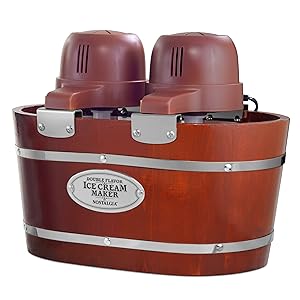
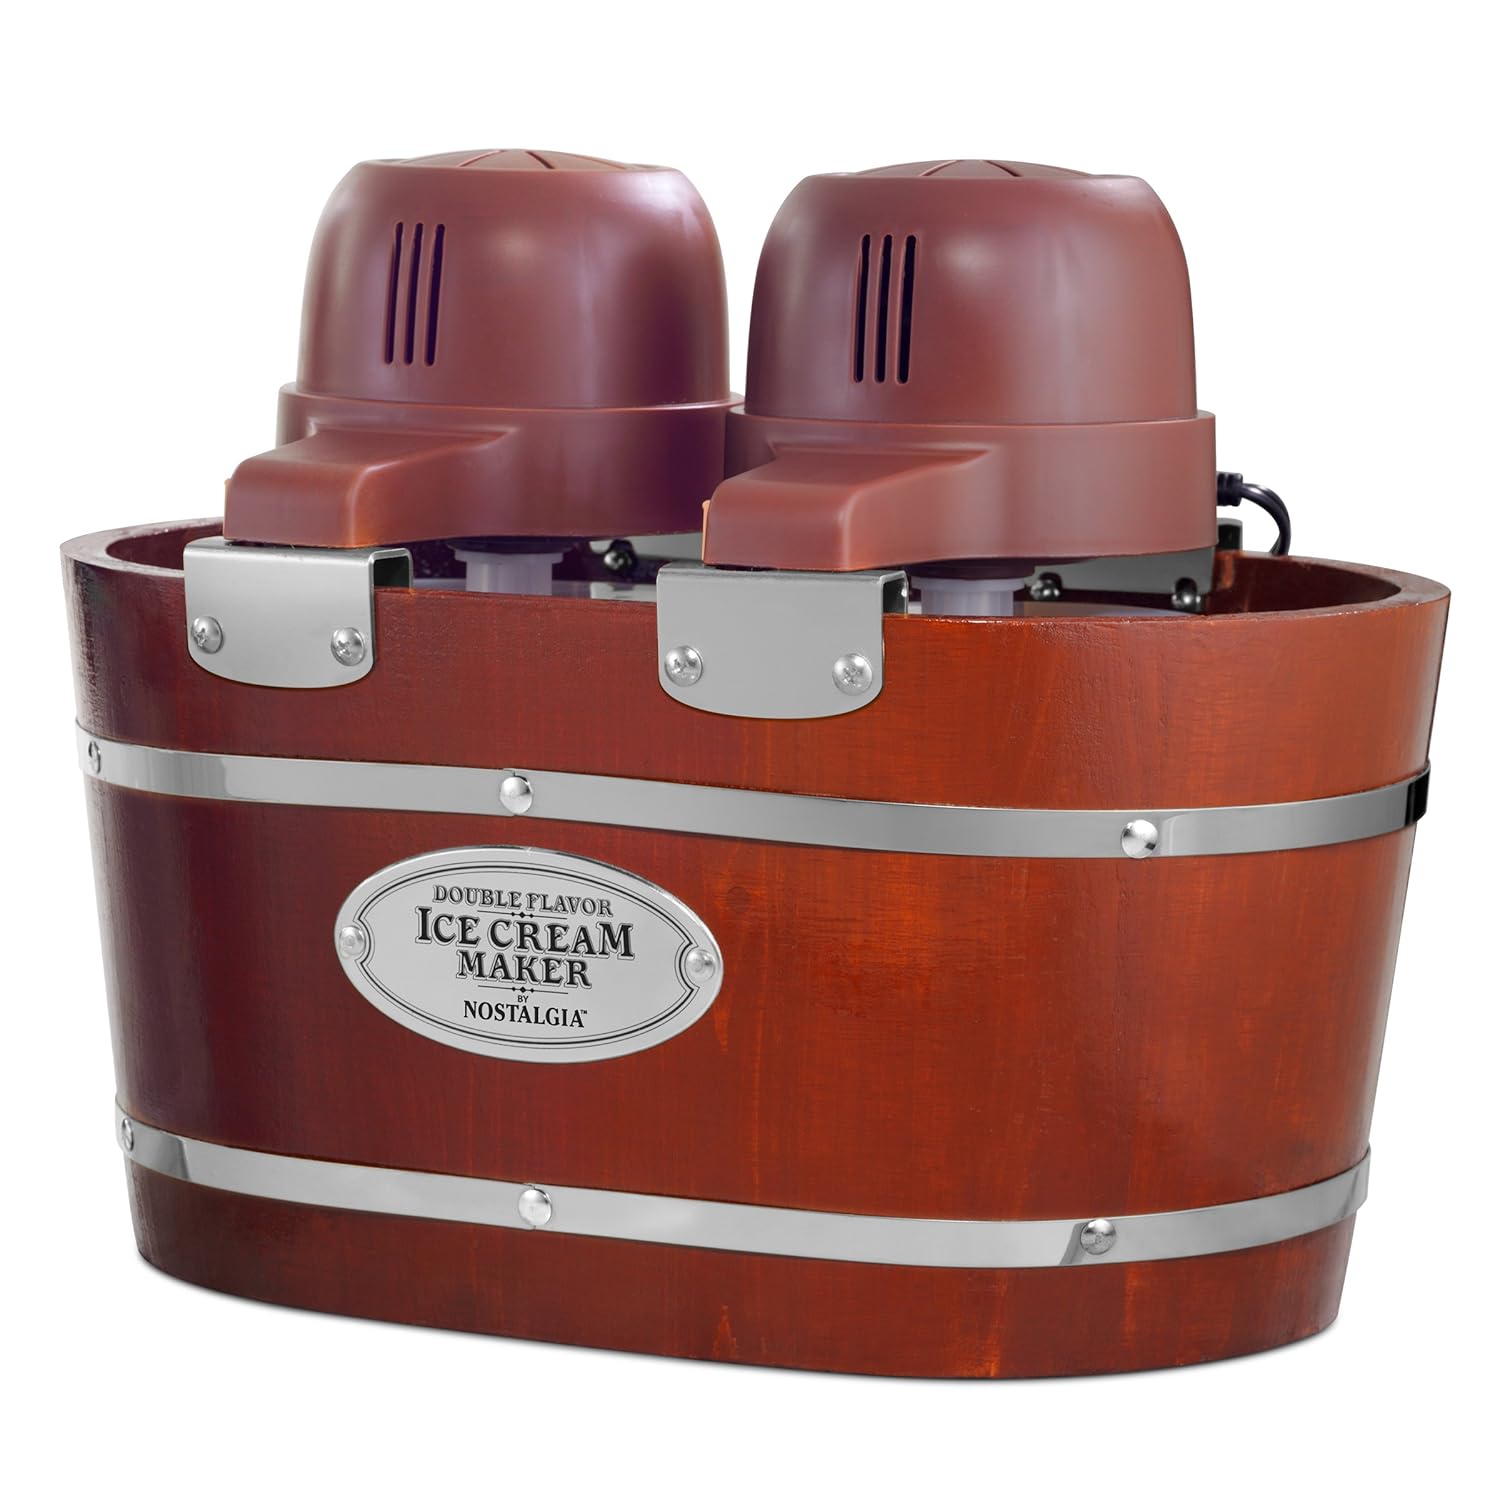
3. Nostalgia ICMW200DBL Ice Cream Maker, 4 Quart, Wood
Feature
- Makes two flavors of delicious ice cream, frozen yogurt or gelato
- Includes two 2-quart aluminum canisters to make up to 4-quarts of ice cream
- Makes ice cream 30% faster than standard 4-quart ice cream makers
- See-thru lids for easy viewing and freezer storage
- Powerful electric motors do all the churning – no manual effort!
- Motors lock into place keeping all parts secure
- Real wood construction
Description
Bring the old fashioned ice cream shoppe right into your home! This real wood constructed unit includes two 2-quart aluminum canisters, allowing you to make two flavors of ice cream, gelato or frozen yogurt at the same time. Simply surround the aluminum canisters with ice and rock salt, then allow the electric motor to do all the churning. When compared to standard 4-quart ice cream makers, this unit makes ice cream 30% faster.
4. DASH DPIC100GBAQ04 My Pint Ice Cream Maker, Aqua

Description
Customize your homemade ice cream by adding any flavors or toppings you want. The Dash My Pint Ice Cream Maker makes up to 1.6 cups of fresh ice cream. No complicated assembly required with this convenient personal ice cream maker. Just freeze the cooling bowl overnight and pop in your prepared ice cream mixture in the morning. In less than 30 minutes you can enjoy homemade ice cream. Take the included mixing spoon and eat your ice cream right from the cooling bowl. A 1-touch button starts the appliance with no effort necessary so you don’t ever have to monitor your ice cream.
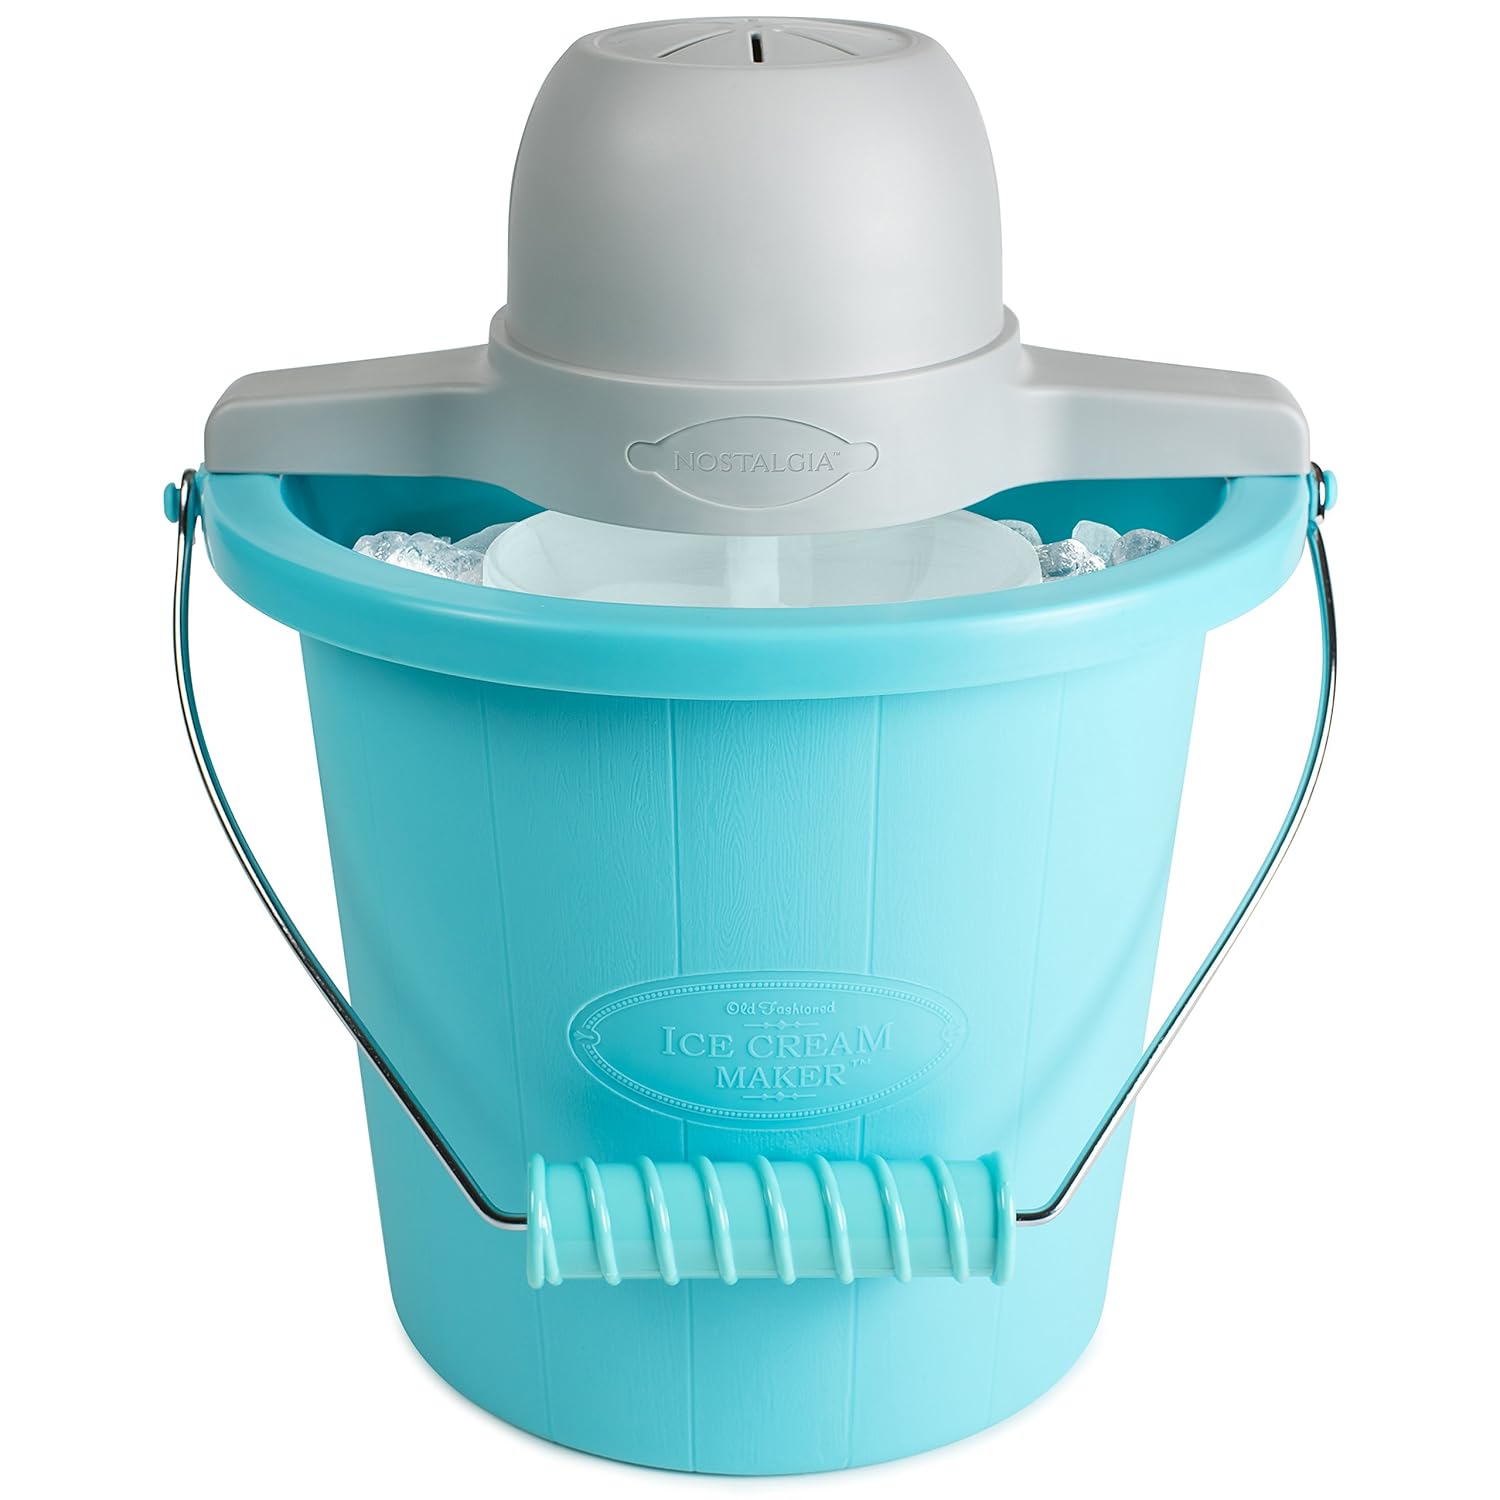
5. Nostalgia ICMP400BLUE 4-Quart Electric Ice Cream Maker with Easy Carry Handle
Feature
- Works best with Nostalgia Ice Cream Mixes: Try the creamy French Vanilla (ICP825VAN8PK), indulgent Chocolate (ICP825CHOC8PK), or the refreshingly sweet flavor of Strawberry (ICP825STRAW8PK)
- Easy-to-clean plastic bucket
- See-thru lids for easy viewing and freezer storage
- Convenient carrying handle
- Powerful electric motor does all the churning – no manual effort!
- Motors locks into place keeping all parts secure
- Recipes included in manual. BPA free
Description
The fast and easy way to make 4-quarts of ice cream, frozen yogurt, or gelato. This unit features a locking motor mount, easy-to-clean plastic bucket and 4-quart aluminum canister. Simply add your ingredients into the aluminum canister, place in the middle of the bucket, layer with ice and salt, and let the electric motor do the rest. Soon you will have wonderful homemade ice cream. Customize each recipe by adding extras, like strawberry preserves, cookie dough, candy pieces and more. When done, use the included lid and lid cap to store leftover ice cream in the freezer.
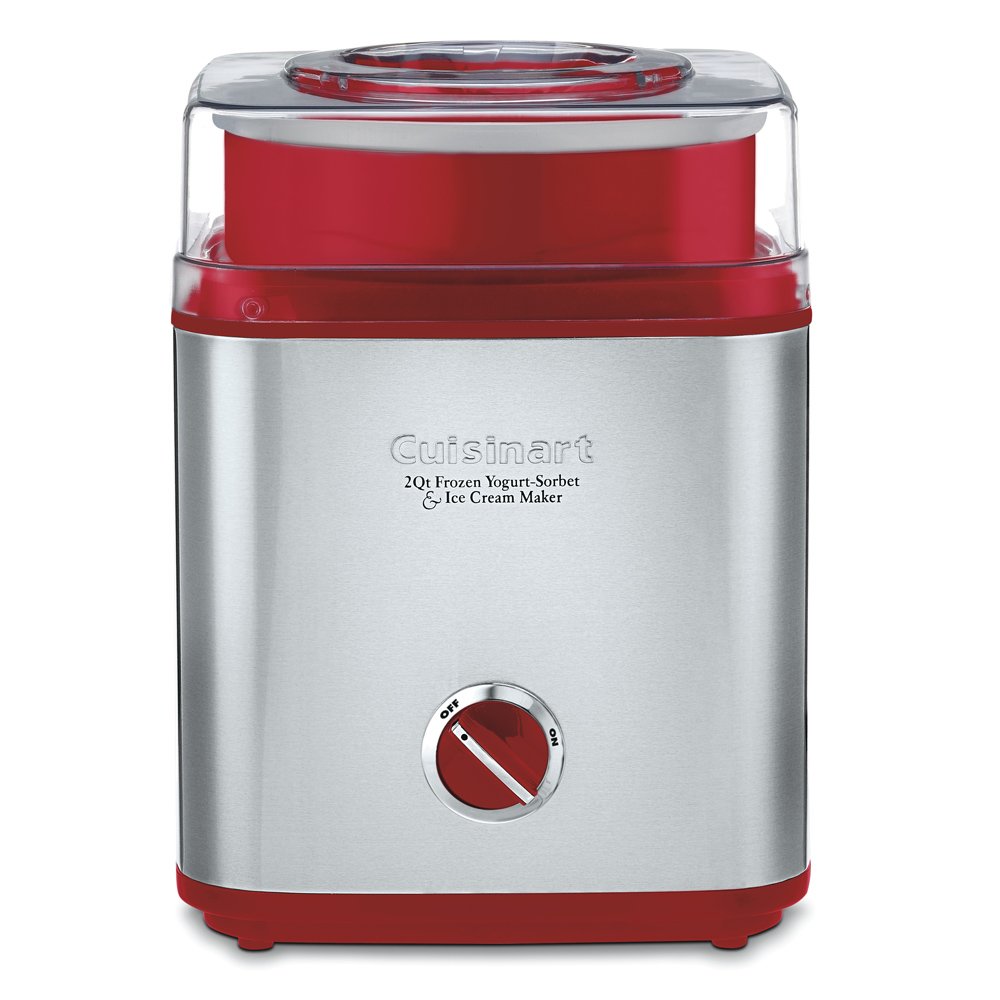
6. Cuisinart ICE-30R Pure Indulgence Frozen Yogurt Sorbet & Ice Cream Maker, 2 quart, Brushed Metal/Red
Description
What’s better than a quart of luscious homemade ice cream, sorbet or frozen yogurt? Two quarts! The fully automatic Cuisinart Pure Indulgence makes 2 quarts of your favorite frozen desserts or drinks in as little as 25 minutes. It’s easy — an integrated motor, double-insulated freezer bowl and automatic mixing paddle do all the work. Results are consistently smooth, cleanup is easy, and the brushed metal styling is simply sensational.
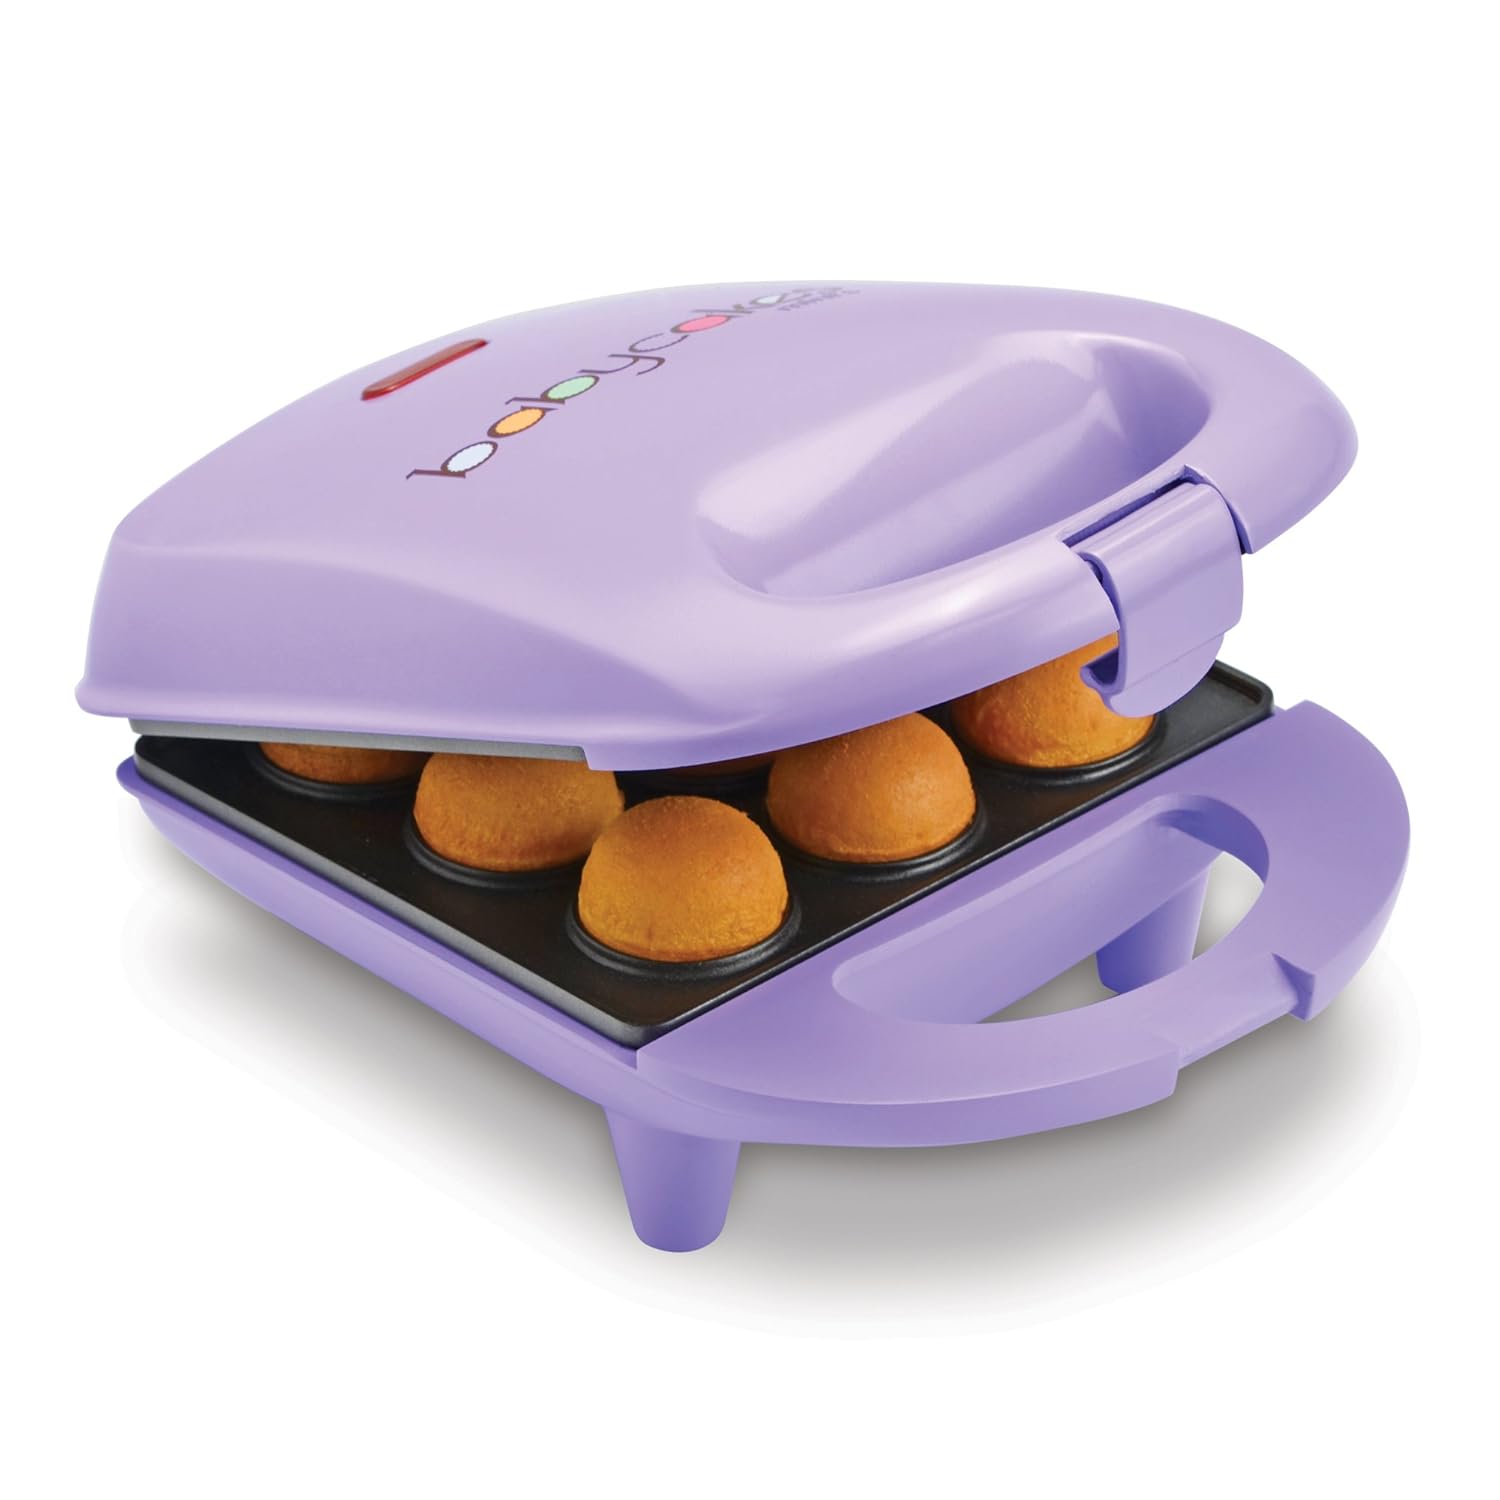
7. Babycakes Mini Cake Pop Maker
Description
– Babycakes Mini Cake Pop Maker New – – BRAND NEW – – Officially Licensed –
8. Cuisinart DLC-2ABC Mini Prep Plus Food Processor Brushed Chrome and Nickel

Feature
- 250-watt food processor with 3-cup plastic work bowl
- Chops and grinds with patented reversible stainless-steel blade
- Simple push-button control panel
- durable, yet lightweight plastic body
- Dishwasher-safe bowl and lid for quick cleanup
- spatula included
- Product Built to North American Electrical Standards
- 24-ounce work bowl with handle
- Not recommend to grind beans with this as it chops.
- Stainless steel blade with sharp and blunt edges
- Limited 18-month warranty
Description
Included components of the Cuisinart Mini-Prep Plus Processor Pulse controlled buttons Why Is This The Perfect Mini Processor For You? The Cuisinart Mini-Prep Plus Processor handles a variety of food preparation tasks including chopping, grinding, puréeing, emulsifying and blending. The patented auto-reversing SmartPower blade provides a super-sharp edge for the delicate chopping of herbs and for blending and puréeing other soft foods. The blunt edge offers a powerful cutting surface to grind through spices and other hard foods. Pulse activation gives maximum control for precision processing, whether chopping or grinding. Spatula, product manual and recipe booklet included. Using Your Cuisinart Mini-Prep Plus Processor The powerful high-speed 250-Watt motor works hard and fast to accomplish any small job with ease. Chop herbs, onions, garlic; grind spices, hard cheese, purée baby foods; blend mayonnaise and flavored butters, all with the same compact appliance. The Mini-Prep Plus Processor takes up minimum counter space and stores neatly on the countertop or in a cabinet. Best Practices When Using Your Cuisinart Mini-Prep Plus Processor Size Always cut large pieces of food into smaller pieces of even size – about 1/2-Inch. If you don’t start with pieces that are small and uniform, you will not get an even chop. Quantity You don’t want to overload the 3-Cup work bowl. Use the quantities given in the included recipe section of the product manual. As a rule of thumb, remember that after being processed, food should not reach more than 2/3 of the way up the central hub of the blade assembly. Selecting the Right Operating Control Use the Chop function for chopping, puréeing and mixing. It’s the best option, for example, when chopping soft, fragile food such as herbs, celery, onions, garlic and most cheeses. It is also the right choice for puréeing cooked vegetables, making mayonnaise and mixing salad dressing. Pulse action is best when you are using the chop function. Two or three pulses are often enough. Use the Grind function for grinding spices and for chopping hard food such as peppercorns, seeds, chocolate and nuts. Continuous-hold action is best when you are using the grind function. Adding Liquid You can add liquids such as water, oil or flavoring while the machine is running. For example, you might want to add oil when making mayonnaise or salad dressing, or you could add vanilla or alcohol when making frozen yogurt. Pour the liquid through one of the two openings in the cover. Removing Food From the Sides of the Bowl Occasionally food will stick to the sides of the bowl as you process. Stop the machine to clear food away. After the blade has stopped moving, remove the cover and use the spatula to scrape the food from the sides of the bowl back into the center. Cleaning and Storage Read to clean up? No problem To simplify cleaning, rinse the work bowl, cover and blade immediately after each use, so that food won’t dry on them. Wash blade assembly, work bowl, cover and spatula in warm soapy water. If you have a dishwasher, you can wash the work bowl, cover, blade assembly and spatula on the top rack. The Mini-Prep Plus Processor stores neatly on the countertop in a minimum of space. The hidden cord storage underneath the motor base will help to keep excess cord off the countertop. Store the unit assembled to prevent loss of parts. Easily dice tomatoes in seconds Just a Few of the Many Foods You Can Prepare Food Item Operation/Technique Comments/Notes Seeds and Dried Berries Grind. Pulse to break up, then process continuously to desired consistency. Coriander, cumin, dill, fennel, sesame, poppy and juniper berries Herbs, fresh Chop. Pulse to chop to desired consistency. Rinse and dry completely. Remove leaves from stems to chop. Onions Chop. Pulse 5-10 times to chop to desired size. Peel; Cut into 3⁄4-inch or smaller pieces of similar size. Mushrooms Chop. Pulse to chop to desired consistency. Choose firm, fresh mushrooms. Cut into quarters or even-size pieces, no larger than 3⁄4-inch. Nuts Chop. Pulse to chop to desired consistency. Toast nuts first for maximum flavor. Allow to cool completely before chopping. Vegetables, cooked Chop. Pulse 5-10 times to chop, then process continuously until desired consistency is reached. Cook vegetables until tender. Process to a smooth purée for baby food or sauces; may need to add liquid for consistency. .
9. Nostalgia FBS400RETRORED Retro 40-Ounce Frozen Beverage Station

Description
The Nostalgia FBS400RETRORED Retro Series 40-Ounce Frozen Beverage Station makes the perfect slush drinks, margaritas, daiquiris, smoothies and much more! It features two shaving settings that produce coarse or fine ice textures. While the ice is being shaved, the mixing paddle simultaneously stirs the frozen beverage. Use standard ice cubes and the fun begin!
10. Norpro Frozen Ice Pop Maker with 24 Wooden Sticks

Feature
- Frozen custom-made treats for everyone! Create frozen pops using any combination of juices, purees, yogurt, applesauce, gelatin, fruit, ice cream, whipped cream, milk and pudding. The combinations are endless! Make healthy ice pops anytime with no chemicals, additives, dyes or added sugar.
- Reusable mold in the classic ice pop shape is BPA free and FDA approved. Mold measures: 4″ x 9″ x 5.5″ / 10cm x 23cm x 14cm and makes ten 3oz / 90ml treats approximately 3.5″ x 2″ x 1″ in size.
- Durable set includes an aluminum frame with plastic molds, lid with grommets to hold sticks upright and straight while freezing treats.
- Also includes 24 standard size, disposable, wooden treat sticks. You won’t have to ask for your handles back.
- Hand washing recommended.
Description
Product Description
Frozen custom-made treats for everyone! Create frozen pops using any combination of juices, purees, yogurt, applesauce, gelatin, fruit, ice cream, whipped cream, milk and pudding. The combinations are endless! Make healthy ice pops anytime with no chemicals, additives, dyes or added sugar. Reusable mold in the classic ice pop shape is BPA free and FDA approved. Durable set includes an aluminum frame with plastic molds, lid with grommets to hold sticks upright and straight while freezing treats. Also includes 24 standard size, disposable, wooden treat sticks. You won’t have to ask for your handles back.
Norpro was founded in 1973 with a vision to design, manufacture, and supply the highest caliber kitchenware. Norpro’ s offering of innovative, high quality product for cooking, preparing and serving food are produced with superior materials and craftsmanship.
Amazon.com
Create treats using juices, purees, yogurt, applesauce, gelatin, fruit, ice cream and pudding. Makes 10 3oz/90ml treats. BPA free, durable plastic with grommets in lid to hold sticks upright and straight. Includes 24 wooden treat sticks. Hand washing recommended.
Conclusion
By our suggestions above, we hope that you can found Chulux Ice Cream Maker for you.Please don’t forget to share your experience by comment in this post. Thank you!


